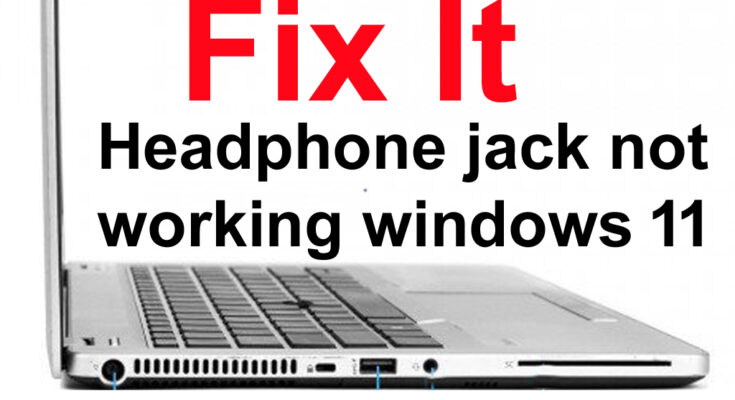
If your laptop or computer headphone jack is not working on Windows 11 or 10, try the following steps to fix it. In my case I connect my headphone jack to my HP Laptop (Model No: HP EliteBook Folio 9480m) the sound didn’t work. Here’s I provide solution how to solved it:

Step-by-Step Guide
- Check Audio Drivers
- Open your device settings and check if the audio drivers are installed properly.
- Visit the HP Website
- Go to the official HP website for support.
- Find Audio Drivers
- Search for the specific audio drivers compatible with your HP EliteBook Folio 9480m.
- Download the Drivers
- Download the audio drivers from the website.
- Install the Drivers
- Follow the installation steps provided after downloading.
- Restart Your Device
- Restart your laptop or computer after the installation is complete.
- Test Your Headphones
- So Plug in your headphones with laptop or commuter to check if the issue is resolved.
After following these steps, my headphone jack finally started working perfectly on my HP EliteBook Folio 9480m laptop.
Why Are My Headphone jack Not Working on Windows 11?
Your headphones due to some reason not work on Windows 11:
- Bluetooth or device conflicts
- Outdated drivers
- Wrong audio settings
- Physical damage to the headphones
How to Fix Headphone jack Problems on Windows 11
Here are simple fixes to try:
- Check Volume
- Ensure the volume is not muted using the buttons or taskbar.
- Turn On Headphones
- If using wireless headphones, ensure they are powered on.
- Disable Other Audio Devices
- Disconnect other speakers or headphones to avoid conflicts.
- Inspect Headphone Cable
- Check for damage in the headphone cable. Replace it if needed.
- Use Airplane Mode
- Turn off wireless connections to eliminate interference.
- Restart Apps
- Close and reopen the audio app to refresh its settings.
- Adjust Audio Settings
- Use Windows Volume Mixer: Go to Settings > System > Sound > Volume Mixer and select your headphones as the output device.
- Charge Wireless Headphones
- Ensure your headphones have enough battery power.
- Try Different USB Ports
- For USB headphones, use a different port.
- Run the Audio Troubleshooter
- Go to Settings > System > Troubleshoot > Other Troubleshooters and run the audio troubleshooter.
- Update Drivers
- Update your headphone drivers or other device drivers using Windows updates or the manufacturer’s website.
- Test on Another Device
- Check if your headphones work on another device. If not, they may need repair or replacement.
By following these tips, you can resolve most headphone issues on Windows 11. This ensures a seamless audio experience for your PC or laptop.


