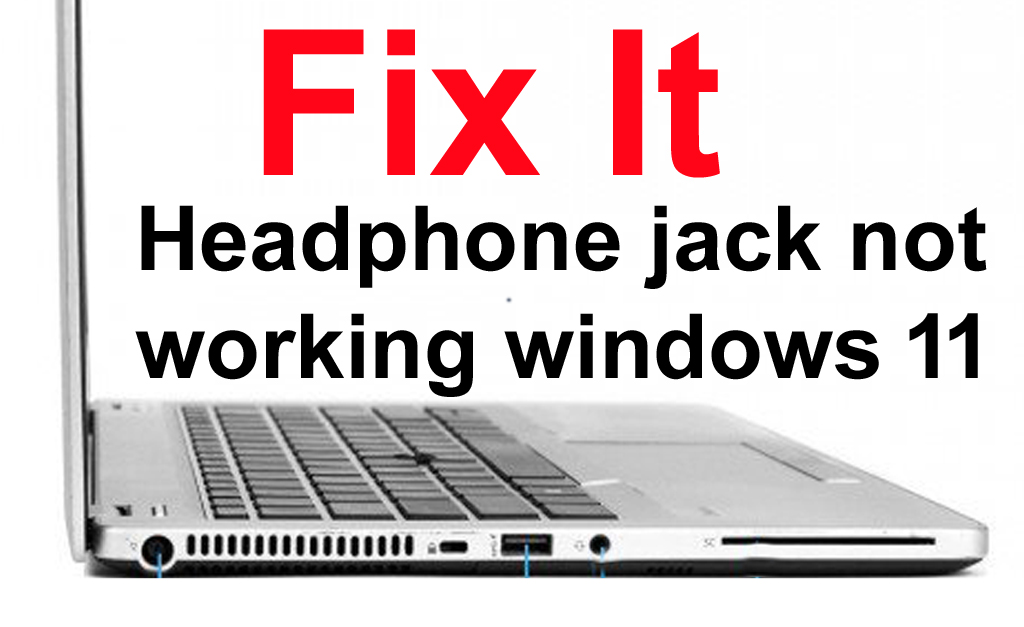
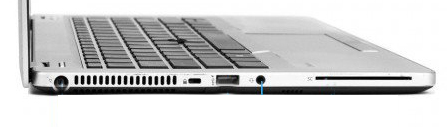
Headphone jack not working windows 11 HP EliteBook Folio 9480m

Headphone jack not working windows 11
Spread the love

To address the issue of the headphone jack not working on Windows 11, start by examining the audio drivers. In my situation, I encountered this problem with my HP EliteBook Folio 9480m—when I plugged in the headphones, there was no sound.

Here’s a step-by-step guide to resolve the problem:

  1. Check Audio Drivers: Begin by inspecting the audio drivers on your Windows 11 device.
  2. Visit HP Website: Navigate to the official HP website.
  3. Search for Audio Drivers: Look for the specific audio drivers compatible with your HP EliteBook Folio 9480m.
  4. Download Drivers: Download the identified audio drivers from the HP website.
  5. Install Drivers: Execute the installation process for the downloaded audio drivers.
  6. Restart Computer or Laptop: After successfully installing the drivers, restart your computer or laptop.
  7. Test Headphone Jack: Verify if the headphone jack is now functioning properly.

By following these steps and ensuring that the correct audio drivers are installed, you should be able to resolve the issue of the headphone jack not working on Windows 11. In my case with the HP EliteBook Folio 9480m, this approach effectively restored sound functionality after plugging in the headphones.

Experiencing difficulties in getting your headphones to function seamlessly with your Windows 11 PC, laptop, or tablet? This comprehensive guide will delineate the prevalent causes of Windows 11 headphone issues and provide a plethora of proven solutions and fixes to assist you in establishing a successful connection for optimal audio playback.

Why Are My Headphones Not Detected by My Windows 11 PC?

The failure of headphones to be recognized by a Windows 11 PC can stem from various factors, encompassing Bluetooth conflicts, operating system glitches, incorrect settings selection, and even physical damage to the headphones. Outdated drivers and firmware are also frequent culprits for headphones not registering correctly in Windows 11.

How Can I Resolve Windows Not Detecting My Headphones?

Most Windows 11 headphone issues can be swiftly addressed by systematically checking and applying the following solutions, progressing from the simplest to more intricate measures. Follow these steps to restore the functionality of your headphones with your Windows 11 device:

  1. Adjust Volume Settings: Check and adjust the volume using physical buttons on your device, keyboard, or taskbar, ensuring the sound is not inadvertently muted.
  2. Power On Headphones: Activate the power button or switch on your headphones before attempting to connect them to your Windows PC.
  3. Disable Other Audio Devices: Turn off or disconnect other speakers, headphones, or earphones to avoid potential conflicts with Windows 11.
  4. Inspect Headphones Cable: Examine the headphone cable for damage by running your fingers along it while playing sound. Replace the cable if damage is detected.
  5. Use Airplane Mode: Temporarily disable wireless connections on other devices to ensure your headphones are not connected to them.
  6. Refresh Audio App or Page: Close and reopen the audio app or refresh the page in a web browser to ensure proper detection of your headphones.
  7. Check In-App Audio Controls: Verify and adjust audio settings within media players and web browsers that may affect audio output.
  8. Store Automatically Connecting Earphones: For auto-connecting earphones, store them in their charging case to prevent accidental activation.
  9. Utilize Windows 11 Volume Mixer: Navigate to Settings > System > Sound > Volume mixer to select your headphones as the output device.
  10. Charge Wireless Headphones: Ensure Bluetooth or wireless headphones have sufficient power by charging the battery.
  11. Try Different USB Port: If using USB headphones, plug them into an alternate USB port on your Windows 11 device.
  12. Disconnect Other USB Devices: Unplug unnecessary USB accessories, as insufficient power may be hindering headphone functionality.
  13. Restart Windows 11: A quick restart might resolve the headphone issue.
  14. Update Windows 11: Install the latest Windows operating system updates to address potential technical issues and enhance performance.
  15. Update Windows Apps: Check for updates in the Microsoft Store to ensure compatibility and resolve conflicts among Windows 11 apps.
  16. Remove and Re-Add Bluetooth Headphones: In the Windows 11 Settings app, remove and then re-add Bluetooth headphones to refresh the connection.
  17. Run Audio Troubleshooter: Open Settings > System > Troubleshoot > Other troubleshooters and run the Audio troubleshooter to identify and correct audio-related issues.
  18. Update Headphone Firmware and Drivers: Obtain and install firmware updates for advanced features, such as noise cancellation, either from the manufacturer’s website or a dedicated app.
  19. Verify Other Driver Updates: Update other hardware device drivers related to your headphones, if necessary.
  20. Test Headphones on Another Device: Check if your headphones function with another computer or device. If issues persist, consider repairing or replacing the headphones.

By systematically addressing these steps, you can troubleshoot and resolve common Windows 11 headphone issues, ensuring a seamless audio experience on your device.

Leave a Reply

Your email address will not be published. Required fields are marked *