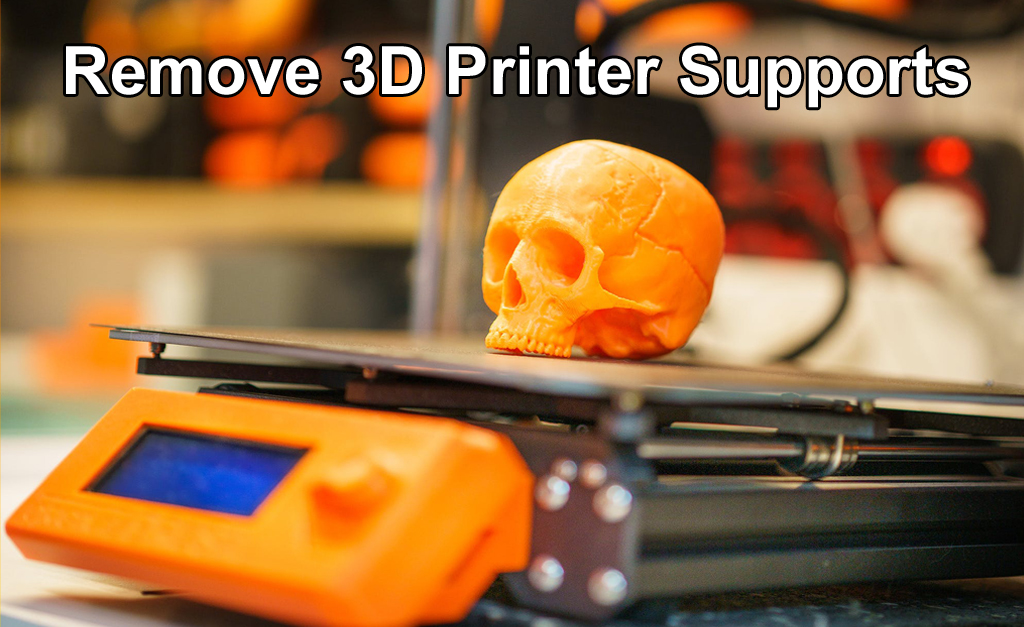
In this article I describe the How to remove 3D printer supports. Removing supports from a 3D-printed object is a crucial step in post-processing, especially if your 3D printer uses support structures to print overhangs and complex geometries. Here is a general guide on how to remove supports:
Tools you might need:
- Pliers or diagonal cutters
- Needle-nose pliers
- X-Acto knife or hobby knife
- Sandpaper or files
- Safety glasses (optional)

Steps:
- Identify Support Structures:
- Examine your 3D print and identify areas where support structures were added during the printing process. These are usually located under overhangs and suspended parts of the model.
- Use Pliers or Diagonal Cutters:
- Begin by using pliers or diagonal cutters to grab and gently twist or snap off larger support structures. Be careful not to damage the actual model.
- Remove Easily Accessible Supports:
- If the supports are easily accessible, use pliers to grasp and gently twist or rock them back and forth to detach them from the print. This is a common method for quickly removing larger supports.
- Use Needle-Nose Pliers for Tight Spaces:
- For tighter spaces or smaller supports, needle-nose pliers can be useful. Grip the support and carefully wiggle it until it breaks away from the model.
- X-Acto Knife for Precision:
- An X-Acto knife or hobby knife can be used to carefully cut away support structures in hard-to-reach areas. Be cautious not to cut into the model unintentionally.
- Sandpaper or Files for Smoothing:
- After removing the majority of the supports, you may notice some rough or uneven surfaces. Use fine-grit sandpaper or files to smooth the areas where supports were attached. This step helps improve the overall finish of your print.
- Check for Residual Material:
- After removing the supports, inspect the print for any remaining bits of support material. Use the appropriate tools to gently remove any leftover pieces.
- Clean the Print:
- If necessary, clean the print using water, isopropyl alcohol, or other appropriate cleaning solutions to remove any residues left behind by support material.
- Inspect the Final Print:
- After the support removal process, carefully inspect your 3D print for any defects or imperfections. If needed, perform additional post-processing steps, such as sanding or painting, to achieve the desired finish.
Always be mindful of safety, and use proper tools and equipment to protect yourself during the support removal process. Additionally, follow any specific guidelines provided by the material manufacturer or your 3D printer’s manufacturer for optimal results.
FAQs
General FAQs:
What is 3D printing?
3D printing, or additive manufacturing, is a process of creating three-dimensional objects layer by layer from digital models. It involves the deposition of material, such as plastic or metal, to build up the final object.
How does 3D printing work?
3D printing works by slicing a digital 3D model into thin layers and then building up these layers one at a time. Various technologies, such as Fused Deposition Modeling (FDM) or Stereolithography (SLA), use different materials and processes to achieve this layer-by-layer construction.
What types of materials can be used in 3D printing?
Common 3D printing materials include plastics (PLA, ABS), resins, metals, ceramics, and more. The choice of material depends on the specific requirements of the printed object.
Printing and Design FAQs:
How long does it take to 3D print an object?
The time it takes to 3D print an object varies based on its size, complexity, and the chosen print settings. Small objects might take a few hours, while larger or intricate prints can take much longer.
Can I design my own 3D models?
Yes, you can create your own 3D models using 3D modeling software like TinkerCAD, Fusion 360, or Blender. Alternatively, you can download models from online repositories.
What is the maximum size I can print?
The maximum print size depends on your 3D printer’s build volume. Larger 3D printers can accommodate bigger objects, but keep in mind that printing larger objects may also require more time and material.
Troubleshooting FAQs:
My 3D print has failed. What could be the problem?
Print failures can result from various issues, such as bed leveling, filament jams, or incorrect print settings. Check your printer’s manual and troubleshooting guides for specific solutions.
How do I prevent warping in my prints?
Warping is often caused by uneven cooling. To prevent it, use a heated bed, ensure proper bed adhesion (e.g., with a layer of adhesive or a raft), and consider enclosing the printer to maintain a stable temperature.
Post-Processing FAQs:
How do I remove supports from my 3D print?
Use pliers, cutters, or an X-Acto knife to carefully remove supports. Follow up with sanding or filing to smooth any rough areas.
Can I paint my 3D prints?
Yes, you can paint 3D prints. Sand the surface for better adhesion, apply a primer if needed, and use acrylic or spray paint for the desired finish.