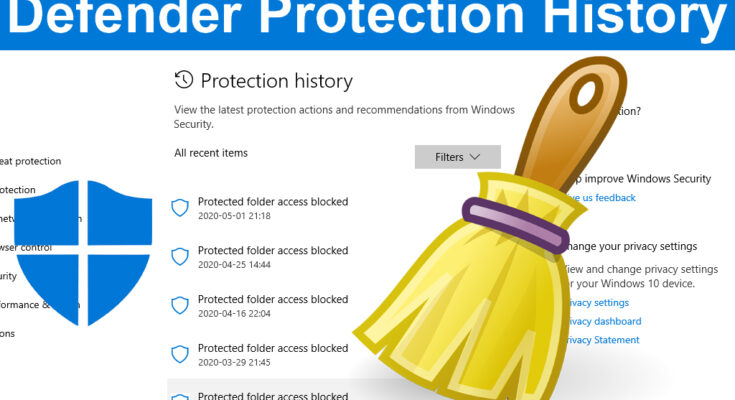
Today I am go to discussed about how to clear windows defender protection history on windows 11. Embarking on the Windows 11 journey, antivirus software becomes superfluous in shielding your device against potential threats like viruses, malware, ransomware, and the like. Windows 11 boasts an in-built security fortress named Windows Security, quietly operating in the background, safeguarding your computer against an array of potential threats.
For those familiar with Windows Security, it’s common knowledge that this security stalwart meticulously chronicles its scans and actions within the Protection History folder. While this folder provides a retrospective view of changes, there comes a juncture when clearing it becomes imperative.
Even if the Protection History folder of Windows Security hasn’t graced your scrutiny, it’s likely to resemble a labyrinth. To maintain control and clarity, it’s judicious to cleanse the Protection History folder in Windows 11.
How to Erase Windows Defender Protection History on Windows 11
Therefore, if your quest involves purging Microsoft Defender or Windows Security Protection History on Windows 11, rest assured, you’ve landed on the right page.
Important Preparations Before Tackling the Protection History
Prior to delving into the steps of clearing your Windows Defender Protection history, a precautionary measure is in order—conduct a thorough PC scan for viruses and malware, leveraging a reliable antimalware scanner.
This ensures your PC is an impregnable fortress, offering no sanctuary for security threats should anything go awry during alterations to Windows Security or Defender.
You’re free to choose from a variety of trustworthy malware scanners like Malwarebytes or AVG Antivirus. A curated list of top-tier antivirus tools can guide you in selecting the most fitting security software for your computer.
Below, we present some of the most effective methods to expunge Windows Security Protection History on Windows 11. Let’s explore.
- Manually Clear Windows Security Protection History.
This method involves manually eliminating the Protection history from the local drive. Follow these straightforward steps:
- Open the File Explorer on your computer (Windows + E). Within the File Explorer, access the Windows installation drive, typically the C: drive for most users.
- Click on the View option at the top.
- In the menu that unfolds, opt for Show > Hidden Items.
- Navigate to the following path:
C:\ProgramData\Microsoft\Windows Defender\Scans\History
- Double-click on the Service in the History folder.
- Within the Service folder, right-click on History and select Delete.
- Clear Windows Security Protection History via Event Viewer
Another approach involves utilizing Event Viewer on Windows 11 to clear the Windows Security Protection History. Follow these steps:
- Initiate a Windows 11 search and type in Event Viewer. Open the Event Viewer app from the list of options.
- Within the Event Viewer, select Event Viewer (Local) and expand the Applications and Services Logs.
- Choose the Microsoft folder.
- On the right side, double-click on Windows.
- Scroll down and double-click on Windows Defender.
- Double-click on Operational within Windows Defender.
- On the right pane, click on the Clear log button.
- A confirmation prompt will appear. Click Save and Clear to clear the log.
- Clear Windows Defender Protection History via Local Group Policy
The Local Group Policy editor offers another avenue for clearing Windows Security Protection History. Follow these steps:
- Initiate a Windows 11 search and type in Local Group Policy. Open the Local Group Policy Editor from the list.
- Navigate to the following path:
Computer Configuration > Administrative Templates > Windows Components > Microsoft Defender Antivirus > Scan.
- On the right side, locate and double-click Turn on removing items from scan history.
- In the window that appears, select ‘Enabled’ and specify the time frame. Avoid setting the number of days to zero, as zero implies indefinitely. Enter the desired days for Windows security to clear the protection history. Click OK when done.
- Clear Microsoft Defender Protection History via PowerShell
PowerShell, the versatile utility, can also be employed to clear the Microsoft Defender Protection History. Follow these steps:
- Initiate a Windows 11 search and type PowerShell. Right-click on PowerShell and select Run as administrator.
- Within the PowerShell Window, paste the following command and hit
- Enter:
Set-MpPreference -ScanPurgeItemsAfterDelay 5


