
If you’ve lately bought a Dell Chromebook eleven and you’re interested by expanding its abilties, you might be thinking how to rework it into a Windows-well matched device. While Chromebooks are excellent for primary obligations, having the potential to run Windows programs can notably expand the range of responsibilities you may perform. Luckily, there are multiple strategies to acquire this, which include the use of virtual machines or putting in twin boot configurations with each working structures on one tool. In this manual, we will explore these strategies in detail, highlighting their respective benefits and drawbacks. Armed with this facts, you can make an informed selection approximately which method fits you and your Dell Chromebook 11 first-rate.
Installing Windows 10 or Windows eleven on a Chromebook is not supported due to differences in hardware and the Chromebook’s default working gadget, Chrome OS, that is primarily based on Linux. However, some users have attempted to run Windows on particular Chromebook fashions through a process called “dual-booting” or the use of virtualization. Please notice that this technique may be complex, and it is able to not paintings on all Chromebooks. Also, it may void your guarantee and will doubtlessly harm your tool if now not finished correctly. Here’s a standard guide on a way to strive this manner:
Prerequisites:
A compatible Chromebook:
Verify if your specific Dell Chromebook 11 model is compatible with running Windows. Not all Chromebooks can run Windows.
A Windows ISO file:
Obtain a valid Windows 10 or Windows 11 ISO file from the official Microsoft website.
A USB drive:
You’ll need a USB drive with at least 16GB of storage capacity.
Backup your data:
Before attempting any installation, make sure to back up all your important data as the process may involve wiping your Chromebook.
Steps for Install Windows 10 11 on Dell Chromebook 11
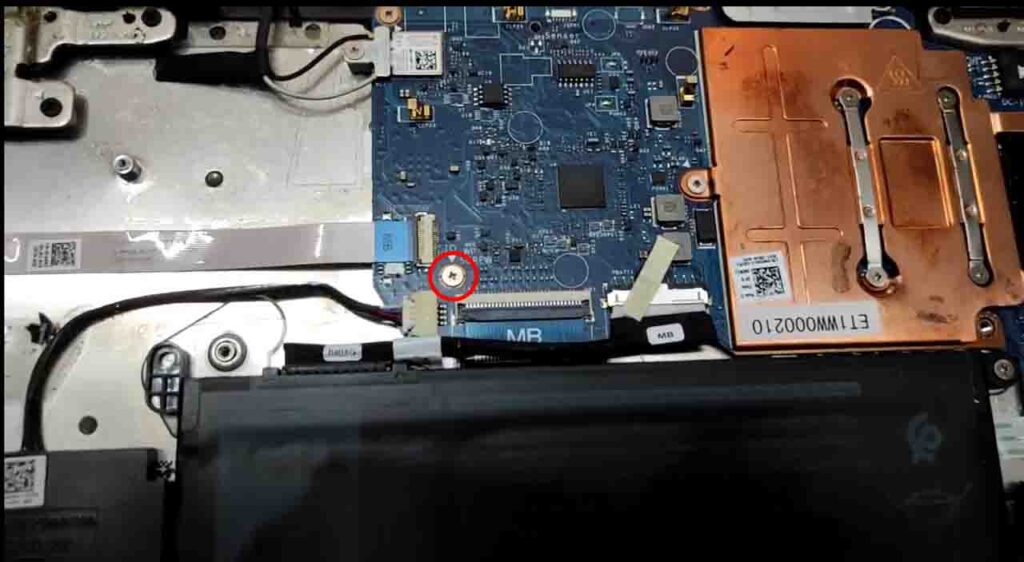
Remove screw:
Open the laptop cover on the back side of the laptop. Remove the screw shown in the picture.
Enable Developer Mode:
Close the laptop cover and press the power button.
if Developer mode automatic not enable so when system on than press three button. Esc , refresh and power button. System automatic restart a

In Recovery Mode, press Ctrl + D to enable Developer Mode. Follow the on-screen instructions. Be aware that enabling Developer Mode will erase your Chromebook’s data.
The image blew up after I pressed Ctrl + D.
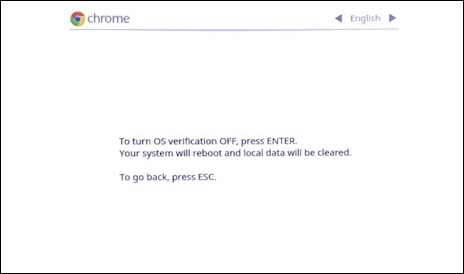
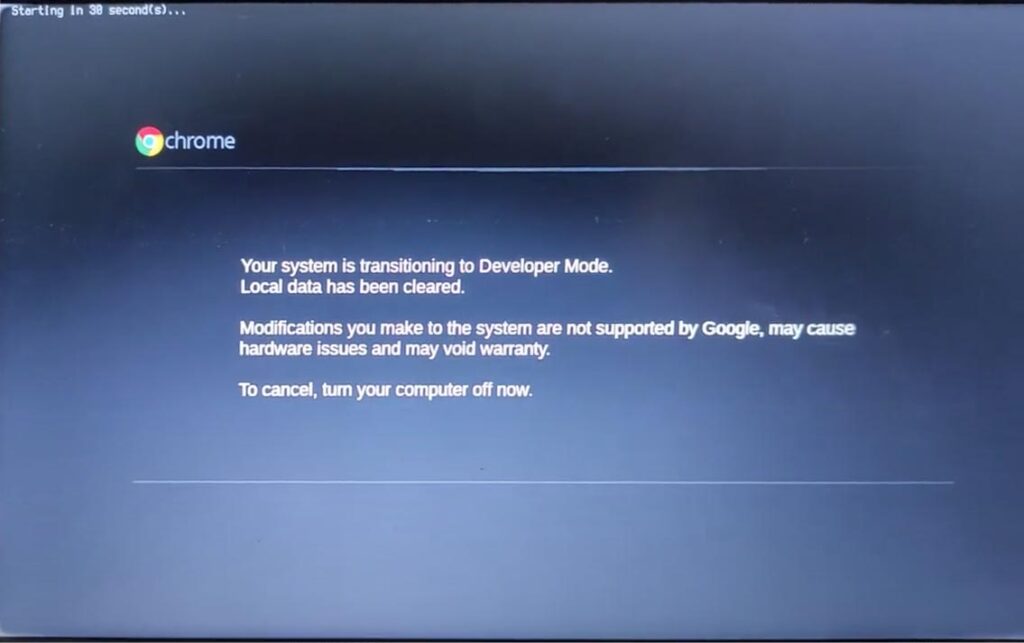
After that, press enter to reboot the laptop and show the screen that OS Verification is Off.

Now turn the laptop on in developer mode and start the installation of Chrome OS.
Setup the Chrome OS:
After the laptop is complete, install the OS. Setup the Chrome OS and show the welcome screen.
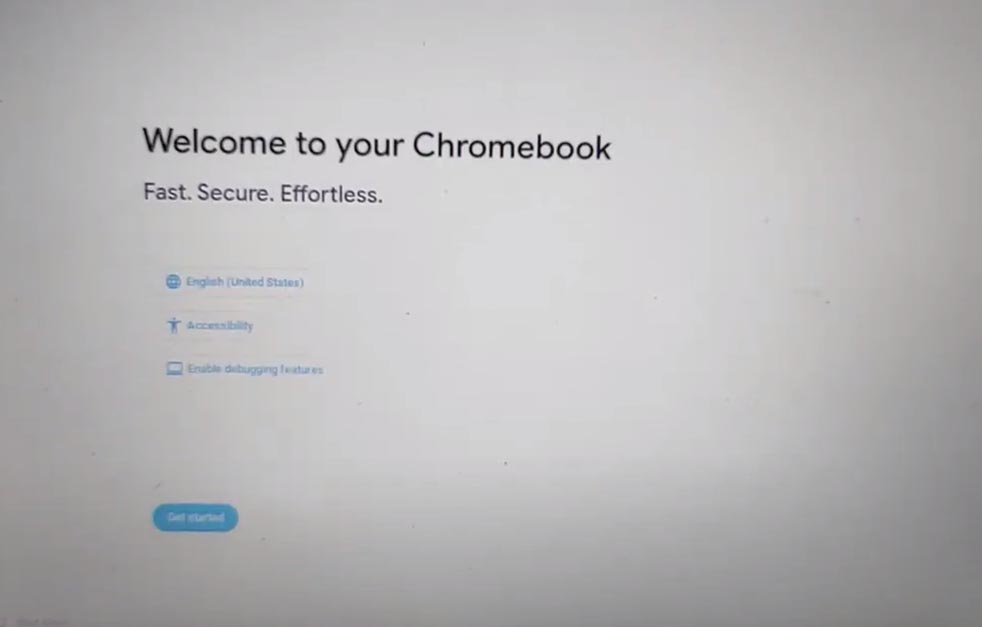
Press the Get Start button, then press Next. then show the agreement page, so press the button Accept and continue. After showing Sync your Chromebook, click No Thanks.
then Enter the Gmail id and passwords and complete the setup .
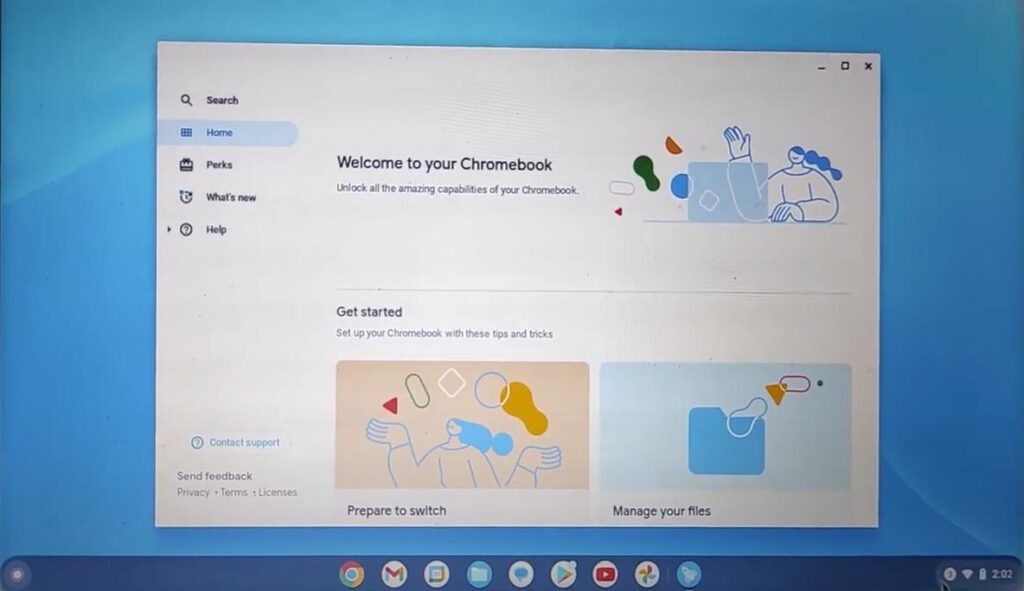
When opening the Chrome OS, press Ctrl + Alt + T and open the terminal window.
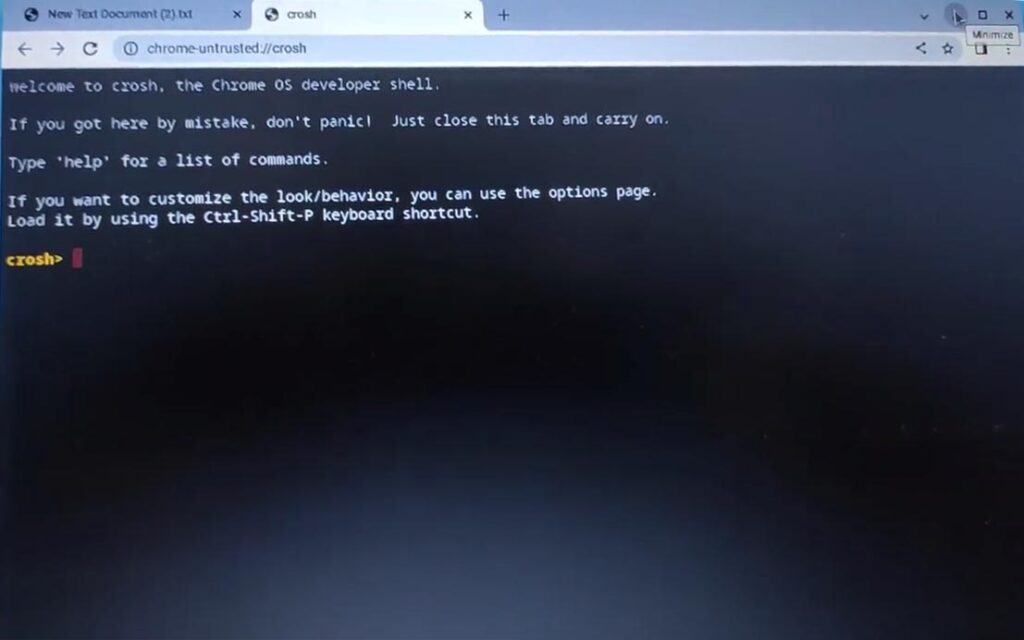
Type in “shell” and press Enter.
👉 Copy and Paste the following into the shell and press enter
cd; curl -LO mrchromebox.tech/firmware-util.sh && sudo bash firmware-util.sh
After that six option show on your screen. select the Second option “set boot option (GBB flags)“. then press y and Press Enter.
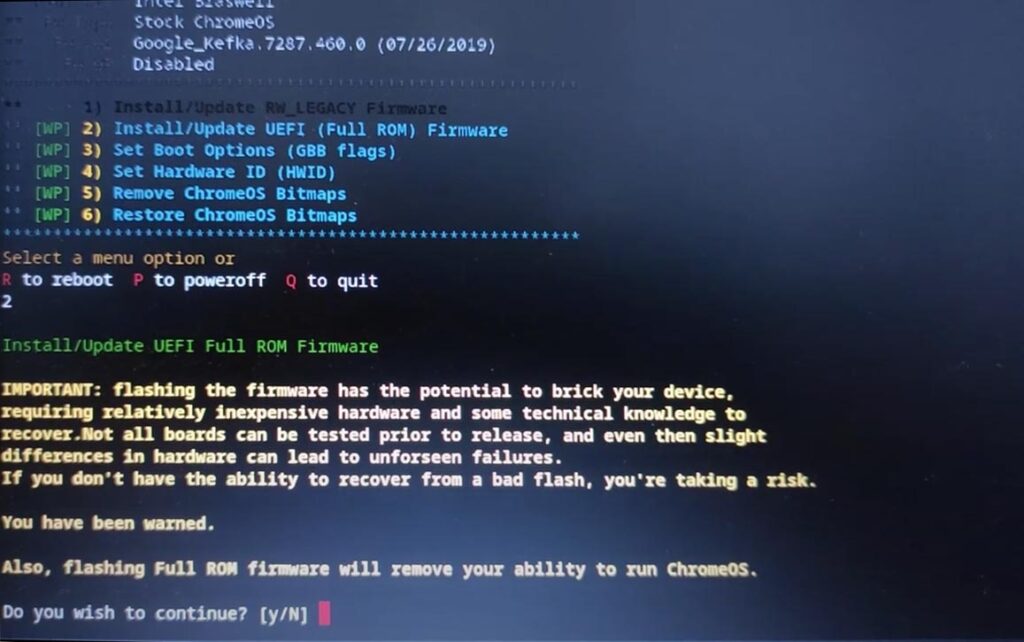
Again press Y and Enter. Next option press N and Enter .
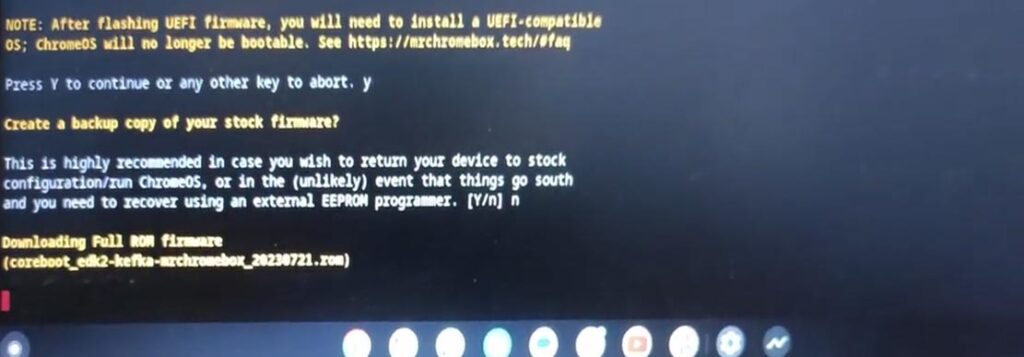
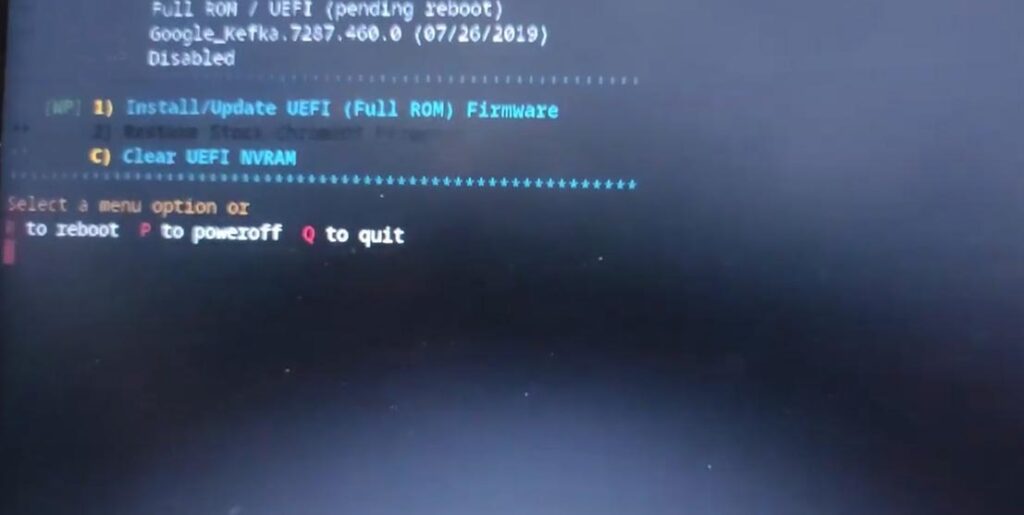
so Download in started. After the downloading install the firmware. After complete the setup show three option. show in the figure. Press the P to Power off
Create a Bootable USB Drive:
Download a Windows ISO file from the official Microsoft website.
Use a tool like Rufus (on Windows) or Etcher (on Linux) to create a bootable USB drive from the Windows ISO file.
Install Windows:
Now press the power button and power on the system. put the USB of Windows 10 and press the ESc button for the boot option, then select the USB drive and install Windows 10.
Install Drivers:
After Windows is installed, you may need to manually find and install drivers for your Chromebook’s hardware, as not all hardware components may be supported out of the box.