

In today’s digital age, our lives are intertwined with technology, and the files on our computers are invaluable. But what happens when you accidentally delete a file, and worse, it’s permanently deleted from your Windows 10 system? Don’t panic – there are solutions to recover those seemingly lost files. In this article, we’ll guide you through the steps to recover permanently deleted files in Windows 10, ensuring you can retrieve your precious data and continue your digital journey seamlessly.
Understanding the Permanently Deleted Files
Before we delve into the recovery process, it’s essential to grasp the concept of permanently deleted files. When you delete a file on Windows 10, it doesn’t immediately disappear. Instead, it moves to the Recycle Bin, giving you a chance to restore it. However, if you bypass the Recycle Bin or use Shift + Delete, the file is permanently deleted, making it seemingly irretrievable.
Step 1: Check the Recycle Bin
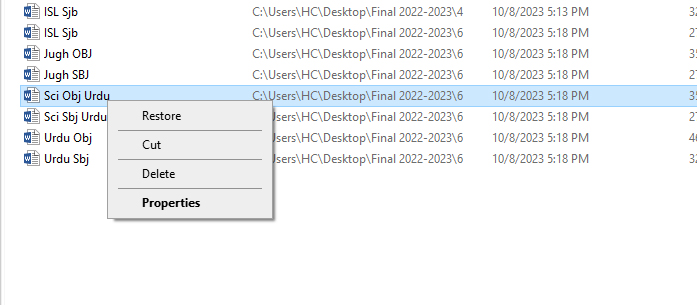
The first step in recovering your lost files is to check the Recycle Bin. Often, files deleted using the conventional method can be found here. Open Recycle Bin.

If your files are present, simply right-click and select ‘Restore’ to bring them back to their original location.
Step 2: Utilize File History
Protecting your computer data is a top priority for all users, and an effective way to achieve this is by performing regular system backups using your preferred backup tool. Windows 10 provides a built-in backup and recovery feature known as File History, which can prove invaluable in the event of data loss. It’s essential for Windows users to configure File History to safeguard the information on their laptops or PCs.
To recover deleted files from a File History Backup, follow these steps:
- Click on the File Explorer icon and open the folder that previously contained the items you wish to recover.
- Navigate to the Home tab and click on the History button.
- Select the specific files or folders that you intend to restore.
- Use the arrows to move through the timeline and find the version you want to recover.
- Click the Restore button to return the file to its original location.
- If there are any naming conflicts, resolve them by either replacing the original file with the restored version, skipping the file, or keeping both copies for your review.
By following these straightforward steps, you can efficiently recover deleted files from a File History Backup on your Windows 10 computer, ensuring the safety of your valuable data.
Step 3: Use Windows Backup
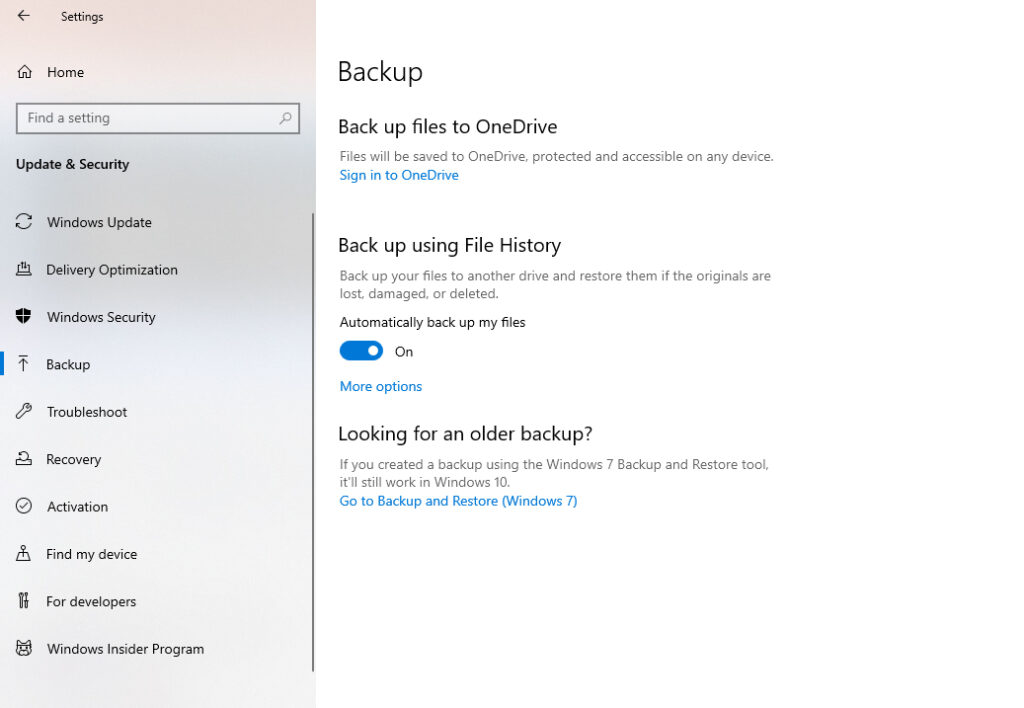
If you have enabled Windows Backup, you’re in luck. Windows Backup creates regular backups of your files, making it a reliable source for recovery. Navigate to the ‘Backup and Restore’ option in the Control Panel, and follow the prompts to restore your deleted files.
Click on the search bar type setting. Click the setting, then open a new window. in this Windows Update and Security. Click Go to Backup and Restore (Windows 7).
Click select another backup to restore file form
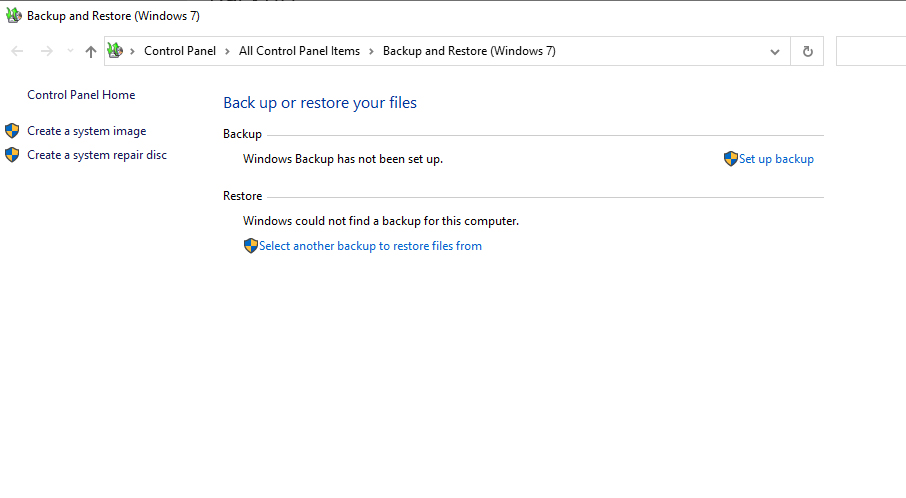
then click the backup file, and then select whether you want to restore the file. and restore it.
Step 4: Third-Party Recovery Software
When the built-in methods fail, consider using third-party recovery software. There are numerous reliable applications available, such as Recuva, EaseUS Data Recovery Wizard, and Disk Drill. These programs employ advanced algorithms to scan your system thoroughly and recover permanently deleted files. Always choose a reputable software and follow the instructions provided.
Follow these steps to recover lost data using Disk Drill:
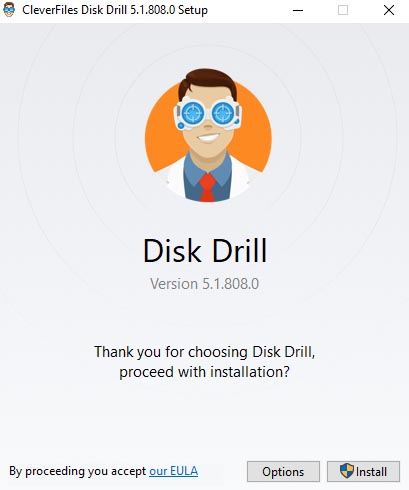
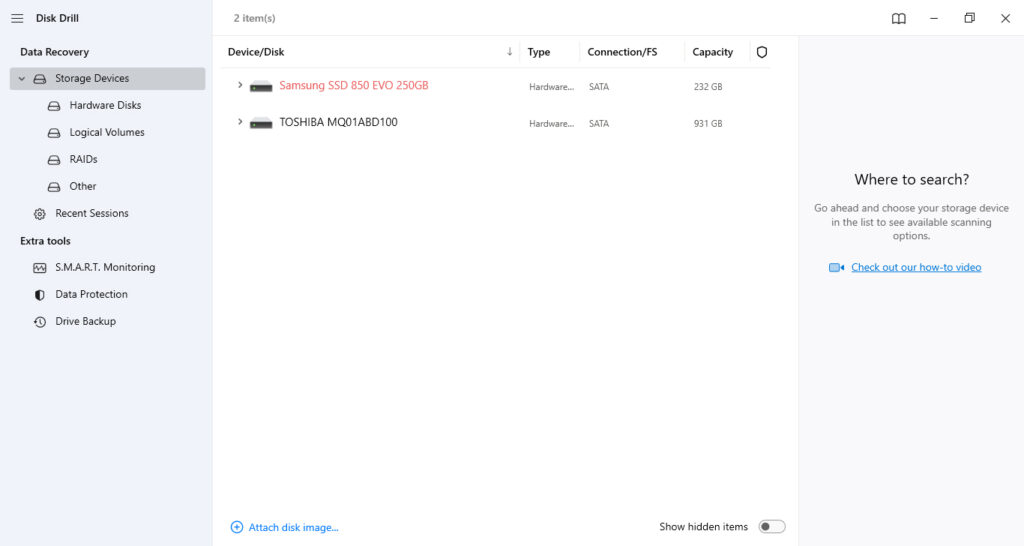
- Download and Install Disk Drill: Begin by downloading and installing Disk Drill. It’s crucial to avoid using the disk intended for recovery during this process. Installing Disk Drill on the recovery disk could cause corruption or overwrite files before they are recovered.
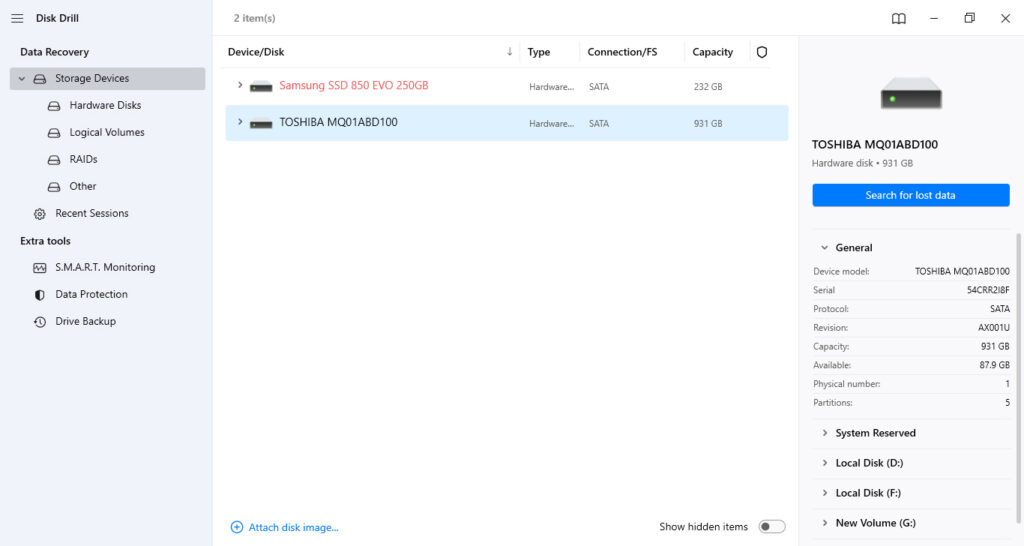
- Launch the Application: Once installed, launch Disk Drill. In the application window, select the specific disk or partition where the lost files were located from the list provided.
- Initiate the Scanning Process: Click the “Search for Lost Data” button to activate Disk Drill’s scanning algorithms. As the scanning progresses, you will be presented with a list of recoverable files.
- Select Files and Choose a New Location: From the list of recoverable files, select the ones you wish to restore. Additionally, specify a new location where you want to store the recovered files. Avoid using the file’s original location, as restoring files there might lead to corruption. Click “Next” to initiate the data recovery process.
- Verify Recovered Files: Once the recovery process is complete, navigate to the new location where the files were saved. Verify that the recovered files are fully restored and usable with your applications.
By following these steps, you can effectively recover lost data using Disk Drill while ensuring the integrity and usability of your recovered files.
Conclusion
Losing important files can be a stressful experience, but with the right knowledge and tools, you can recover permanently deleted files in Windows 10. Whether you find your files in the Recycle Bin, use File History, rely on Windows Backup, or resort to third-party software, the key is to act swiftly and methodically. Remember, prevention is the best practice, so regularly back up your files to avoid future data loss incidents.
FAQs
Q1: Can I recover files deleted a long time ago?
Yes, if you have enabled File History or Windows Backup, you can recover files from several months ago. Additionally, some third-party software can retrieve files deleted a long time ago.
Q2: Will recovery software affect my system’s performance?
Recovery software may consume system resources during the scanning process, but it won’t have a significant impact on your system’s performance. After recovery, you can uninstall the software to free up resources.
Q3: Can I recover files from a formatted drive?
Yes, most data recovery software can retrieve files from formatted drives. Ensure you choose a reliable program and follow the instructions carefully to maximize your chances of recovery.
Q4: Is it possible to recover files after a system restore?
No, once you perform a system restore, it reverts your system to a previous state, and all files created or modified after that point will be lost. It’s crucial to back up your files before initiating a system restore.
Q5: How often should I back up my files to prevent data loss?
It’s advisable to back up your files regularly, preferably on a daily or weekly basis, depending on how frequently you create or modify data. Regular backups ensure that you have recent copies of your files in case of unexpected events.